Step-by-Step Guide to Apply for a US Study Visa (2025 Edition)
How to Apply for a US Study Visa: A Complete Step-by-Step Breakdown

Why Understanding the US Study Visa Process Matters
The US Study Visa remains one of the most sought-after pathways for students dreaming of world-class education, global exposure, and long-term career opportunities. Every year, over one million international students enroll in colleges and universities across the United States drawn by academic excellence, diverse campus life, and the promise of brighter futures.
However, the visa process can feel intimidating, especially if it’s your first time dealing with international paperwork and embassy procedures. The good news? Once you break everything down into actionable steps, the journey becomes much easier to navigate.
This article offers a complete step-by-step guide to apply for a US Study Visa, explaining every part of the journey in clear, simple language. Whether you’re applying for a bachelor’s degree, master’s program, language course, or professional diploma, this guide will help you understand what to do, why it matters, and how to avoid common mistakes.
Let’s walk through the entire process, from the moment you get admitted to a US school until the day you attend your visa interview.
Step 1: Get Accepted to a SEVP-Approved School
Before you can apply for a US Study Visa, you must first secure admission to a school certified by SEVP (Student and Exchange Visitor Program). Only SEVP-approved institutions can issue the I-20 form, which is essential for the F1 visa application.
What is SEVP?
SEVP (run by the U.S. Department of Homeland Security) ensures that international students study at legitimate schools that meet official standards.
How to Check if a School Is SEVP-Approved
The easiest method is using the official SEVP school search tool provided by the US government. If a school is not on the list, you cannot apply for an F1 visa through it.
Tips for Choosing the Right School
- Compare tuition fees and available scholarships
- Check program reputation and faculty expertise
- Consider campus safety and location
- Review employment opportunities (CPT and OPT)
- Look at acceptance rates and admission requirements
Once accepted, the school will ask for passport details and financial proof before issuing your I-20 form.
Step 2: Understand the I-20 Form and Why It’s So Important
The I-20 is one of the most important documents in the entire US Study Visa process. Without it, you cannot pay the SEVIS fee, book your visa interview, or enter the United States.
What is on the I-20 Form?
- Your SEVIS ID number
- Program start and end dates
- Tuition and living expenses
- School’s official details
- Personal information
- Proof of financial ability
Things to Check Before Accepting the I-20
- Name and date of birth must match your passport
- Program level and major should be correct
- Start date should give you enough time to complete the visa process
- Financial estimates should match your bank documents
If anything is wrong, request a corrected I-20 before proceeding.
Step 3: Pay the SEVIS I-901 Fee
The next step is paying the SEVIS fee, which funds the system that tracks international students. You must do this before submitting your visa application.
How Much Is the SEVIS Fee?
- F1 Visa: $350 USD
- M1 Visa: $350 USD
- J1 Visa: $220 USD
How to Pay
The official SEVIS payment website allows credit/debit cards or PayPal. After payment, you MUST download and print the receipt. The consular officer may ask for it during your interview.
Why Is the SEVIS Fee Important?
Without this payment:
- Your SEVIS record won’t activate
- You cannot proceed with DS-160
- You risk delays or rejection
Step 4: Complete the DS-160 Visa Application Form
The DS-160 is the online nonimmigrant visa application form required for all F1 students. The form is long and detailed, so take your time.
What You Need to Fill the DS-160
- Valid passport
- I-20 information
- Home and travel address
- Educational background
- Employment history (if any)
- Recent passport-sized photo
Common DS-160 Mistakes to Avoid
❌ Incorrect spelling of your name
❌ Wrong program start date
❌ Mismatched financial sponsor details
❌ Uploading an invalid photo
After Completing DS-160
You will receive a DS-160 confirmation page with a barcode. Print this page it is required at both the embassy and security gate.
Step 5: Pay the Visa Application Fee (MRV Fee)
This fee is required before booking your embassy appointment.
Visa Fee Amount
Most applicants pay $185 USD, but the amount may vary slightly by country or currency exchange.
Payment Options
- Bank transfer
- Online payment
- Mobile wallet services (depending on your country)
- Over-the-counter at approved banks
After payment, keep your receipt safely. You will need the receipt number to book your appointment.
Step 6: Schedule Your Visa Interview Appointment
You must book two appointments in most countries:
1. Embassy/Consulate Interview Appointment
This is where you meet the visa officer.
2. Biometrics (OFC) Appointment
Here they take your fingerprints and digital photo.
Appointment Tips
- Book early summer months are extremely busy
- Try for dates that give you time to prepare documents
- Avoid last-minute scheduling to reduce stress
Students can apply up to 365 days before the program start date, but can enter the US only 30 days before classes begin.
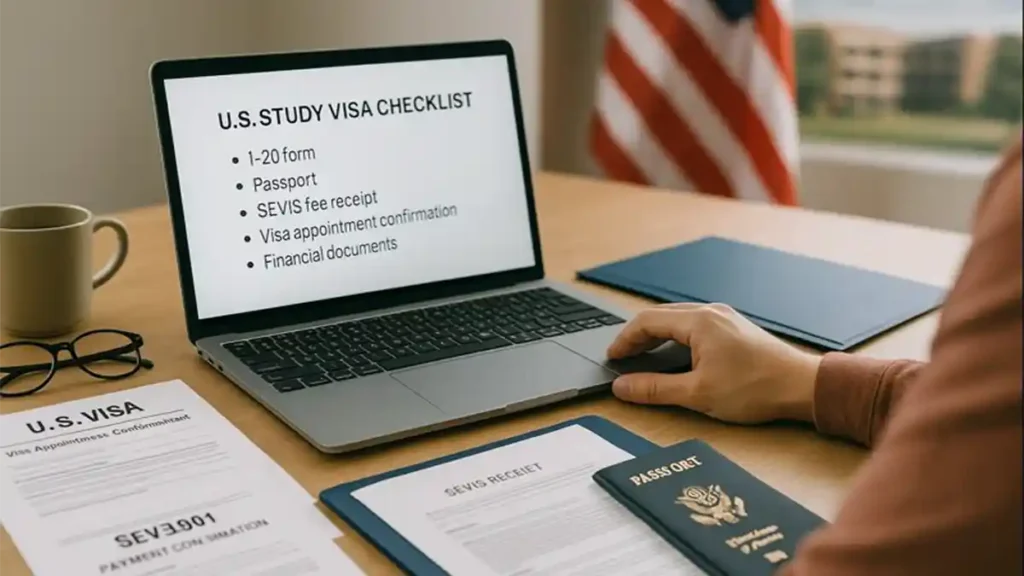
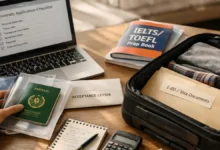
Step 7: Prepare All Required Documents
This is one of the most crucial steps in the entire US Study Visa process. Having complete and well-organized documents increases your confidence and helps the officer assess your case quickly.
Essential Documents Checklist
✔ Valid Passport
✔ I-20 Form (Signed by you and your school)
✔ SEVIS Fee Payment Receipt
✔ DS-160 Confirmation Page
✔ Visa Appointment Confirmation
✔ Passport-sized Photos (US-format)
✔ Bank Statements (last 6–12 months)
✔ Affidavit of Support (if applicable)
✔ Scholarship Letters (if applicable)
✔ Proof of Funds (minimum 1 year of expenses)
✔ Academic Records (transcripts, certificates)
✔ Admission Letter from the US university
✔ Test Scores: TOEFL, IELTS, GRE, GMAT (if required)
Financial Requirements
Most US schools estimate that international students need $30,000–$70,000 per year for tuition + living expenses. You must show funds covering at least the first year.
Step 8: Attend the Biometric Appointment (OFC Appointment)
This appointment is usually simple and quick.
What Happens During OFC?
- Officials scan your fingerprints
- They take your digital photograph
- They verify your passport and DS-160 barcode
It typically takes 10–15 minutes.
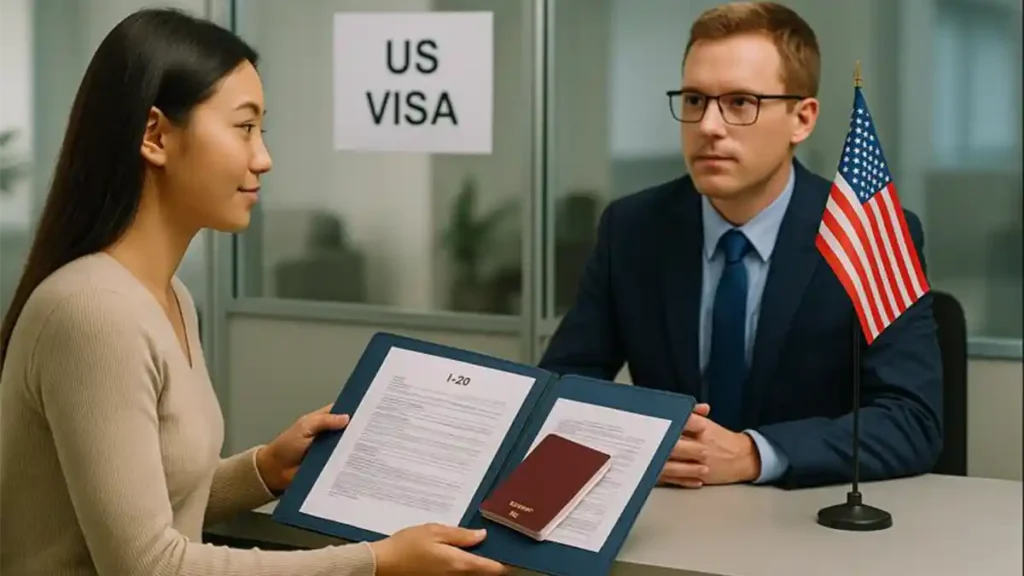
Step 9: Ace the Visa Interview at the US Embassy
The visa interview is the most stressful part for many applicants, but with the right preparation, you can handle it smoothly.
What Visa Officers Want to Know
- Are you a genuine student?
- Can you afford your education?
- Will you return home after graduation?
- Do you understand your program and goals?
Common Interview Questions
- Why did you choose this university?
- Who is funding your education?
- What will you study and why?
- Tell us about your academic background.
- What do your parents do?
- What are your future plans?
Tips for a Successful Interview
- Speak confidently and clearly
- Give short, direct answers
- Do not memorize robotic speeches
- Maintain eye contact and stay calm
- Answer only what you’re asked
- Dress neatly and professionally
The decision is often made within a few minutes.
Step 10: Visa Approval – What Happens Next?
If approved, you will typically hear:
“Your visa has been approved.”
Your passport will be returned with the visa stamp within a few days.
Review Your Visa Stamp
Check for:
- Correct spelling
- Visa type: F1
- Validity dates
- SEVIS ID
- School information
Report any mistake immediately.
Step 11: Prepare for Travel to the United States
You may enter the US only 30 days before your program starts.
This is a legal restriction for all F1 students.
Pre-Departure Checklist
✔ Book your flight
✔ Pack essential academic documents
✔ Arrange accommodation
✔ Connect with your university’s international office
✔ Prepare travel funds
✔ Purchase health insurance (if required)
Documents to Carry While Traveling
- Passport with visa
- I-20 form
- Admission letter
- Proof of finances
- SEVIS receipt
- Emergency contact information
Step 12: Arrival in the US Final Immigration Clearance
Upon arrival, you will meet a CBP (Customs and Border Protection) officer.
What the CBP Officer Checks
- Purpose of travel
- Valid visa
- I-20 details
- SEVIS status
They stamp your passport and admit you in F1 status.
Step 13: Complete Mandatory Tasks After Arrival
1. Attend International Student Orientation
Universities require this for all new students.
2. Check In With Your DSO
Your Designated School Official updates your SEVIS status.
3. Get Your Student ID Card
4. Set Up a Bank Account and Phone Line
5. Understand Work Rules (CPT and OPT)
Work without authorization can lead to deportation.
Final Thoughts: Your Path to the United States Begins With Preparation
Applying for a US Study Visa may feel overwhelming at first, but each step serves a clear purpose. With the right documents, proper planning, and confidence during the interview, thousands of students successfully secure their visas every year and you can too.
The United States offers unmatched academic opportunities, cultural diversity, and career pathways. By understanding the visa process from start to finish, you are already one step closer to beginning your educational journey.
Your dream of studying in the US isn’t just a possibility – it’s a plan waiting to happen.


5 Comments